
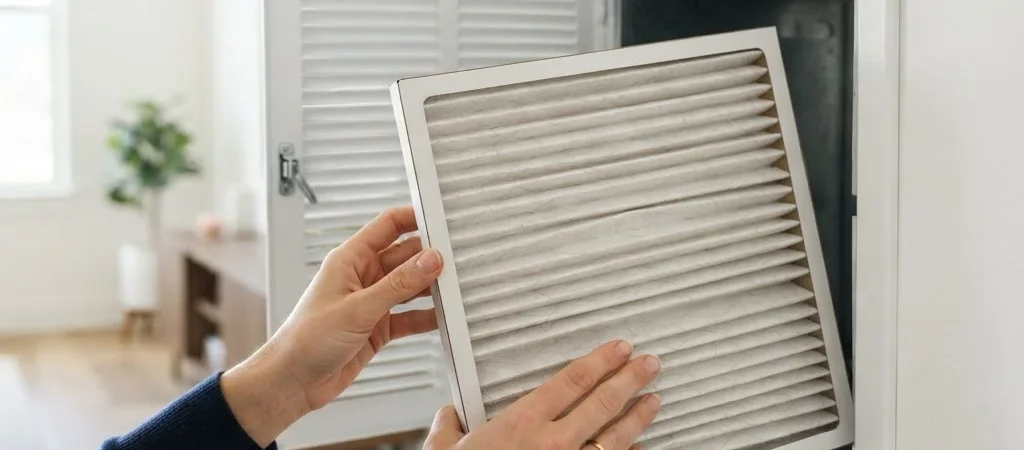
A dusty return grille or a filter that will not slide back into place is a small sign that routine HVAC maintenance deserves attention. A quick, careful inspection can help you spot a filter that needs cleaning or replacement without guessing at a universal schedule.
Find the Right Instructions
Check the equipment manual or the filter manufacturer’s directions first; replacement and cleaning guidance varies by system and filter type. Central forced-air systems commonly have a filter at a return grille or near the indoor unit, while ductless mini-splits often use removable, washable filters. Do not assume those filters follow the same care routine.
Inspect Before You Handle It
If the instructions allow a homeowner inspection, switch the system off as directed and locate the filter without forcing a panel or grille. Look for visible dust buildup, damage, or a filter that is the wrong size, and note the airflow arrow before removing it. A replacement should fit snugly in the correct direction, without bending or leaving gaps.
Avoid Guesswork on Upgrades
A filter with a different thickness or higher resistance may not be suitable for every system, even if it appears to capture more particles. Follow the equipment maker’s specifications, and ask an HVAC professional before changing filter type when the guidance is unclear. If airflow changes or the system makes an unusual sound after a filter change, stop and check the installation instructions.
Build a Practical Reminder
Instead of relying on a replacement interval that may not fit your home, set a reminder to review the manufacturer’s guidance and inspect the filter as appropriate for your equipment. Homes with pets, renovation dust, or heavier system use may need closer attention, but the filter and system instructions should still guide the decision. Keep the filter size and model information somewhere easy to find for the next check.